“As an avid player, the anticipation for Starfield has been akin to waiting for a comet’s return after a quarter-century. Bethesda Game Studios, renowned for crafting masterpieces like The Elder Scrolls V: Skyrim and Fallout 4, now unveils their latest creation: a next-generation role-playing game set amidst the vast expanse of the cosmos. In this celestial odyssey, players are bestowed with unparalleled freedom to shape their own destiny. Whether you’re a rugged spacefarer, a brilliant scientist, or a rogue trader, the stars are your playground. The greatest mystery awaits, and it’s up to us to unravel it—a journey that transcends mere gameplay and becomes an epic quest for all of humanity.”
(conversation with Windows Copilot)
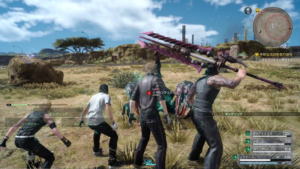
“The universe of Starfield beckons with its dual perspectives—first-person immersion and the broader canvas of third-person observation. As I traverse the Milky Way galaxy, I encounter both fictional and non-fictional planetary systems. Each celestial body holds secrets, challenges, and untold wonders. The deep RPG roots of Bethesda shine through, allowing me to customize my character, engage in meaningful dialogue, and make choices that ripple across the cosmic tapestry. With a main quest spanning 30-40 hours, Starfield promises to be a voyage of discovery, where the stars themselves whisper tales of ancient civilizations, cosmic anomalies, and the very essence of existence. Truly, the cosmos awaits, and I am ready to embark on this interstellar saga.
As an avid player eagerly awaiting the cosmic odyssey of Starfield, I find myself immersed in a universe teeming with intriguing mechanics. Bethesda Game Studios has woven a tapestry of gameplay intricacies that beckon exploration and mastery. Here are some facets that resonate with my interstellar journey:
Character Creation: Beyond mere aesthetics, my identity extends to background lore and starting skills. These initial choices shape my playstyle, granting early proficiency in areas like stealth, persuasion, or security. The Enhance! makeover stations ensure I can alter my appearance at will, but my character’s history remains etched in the stars.
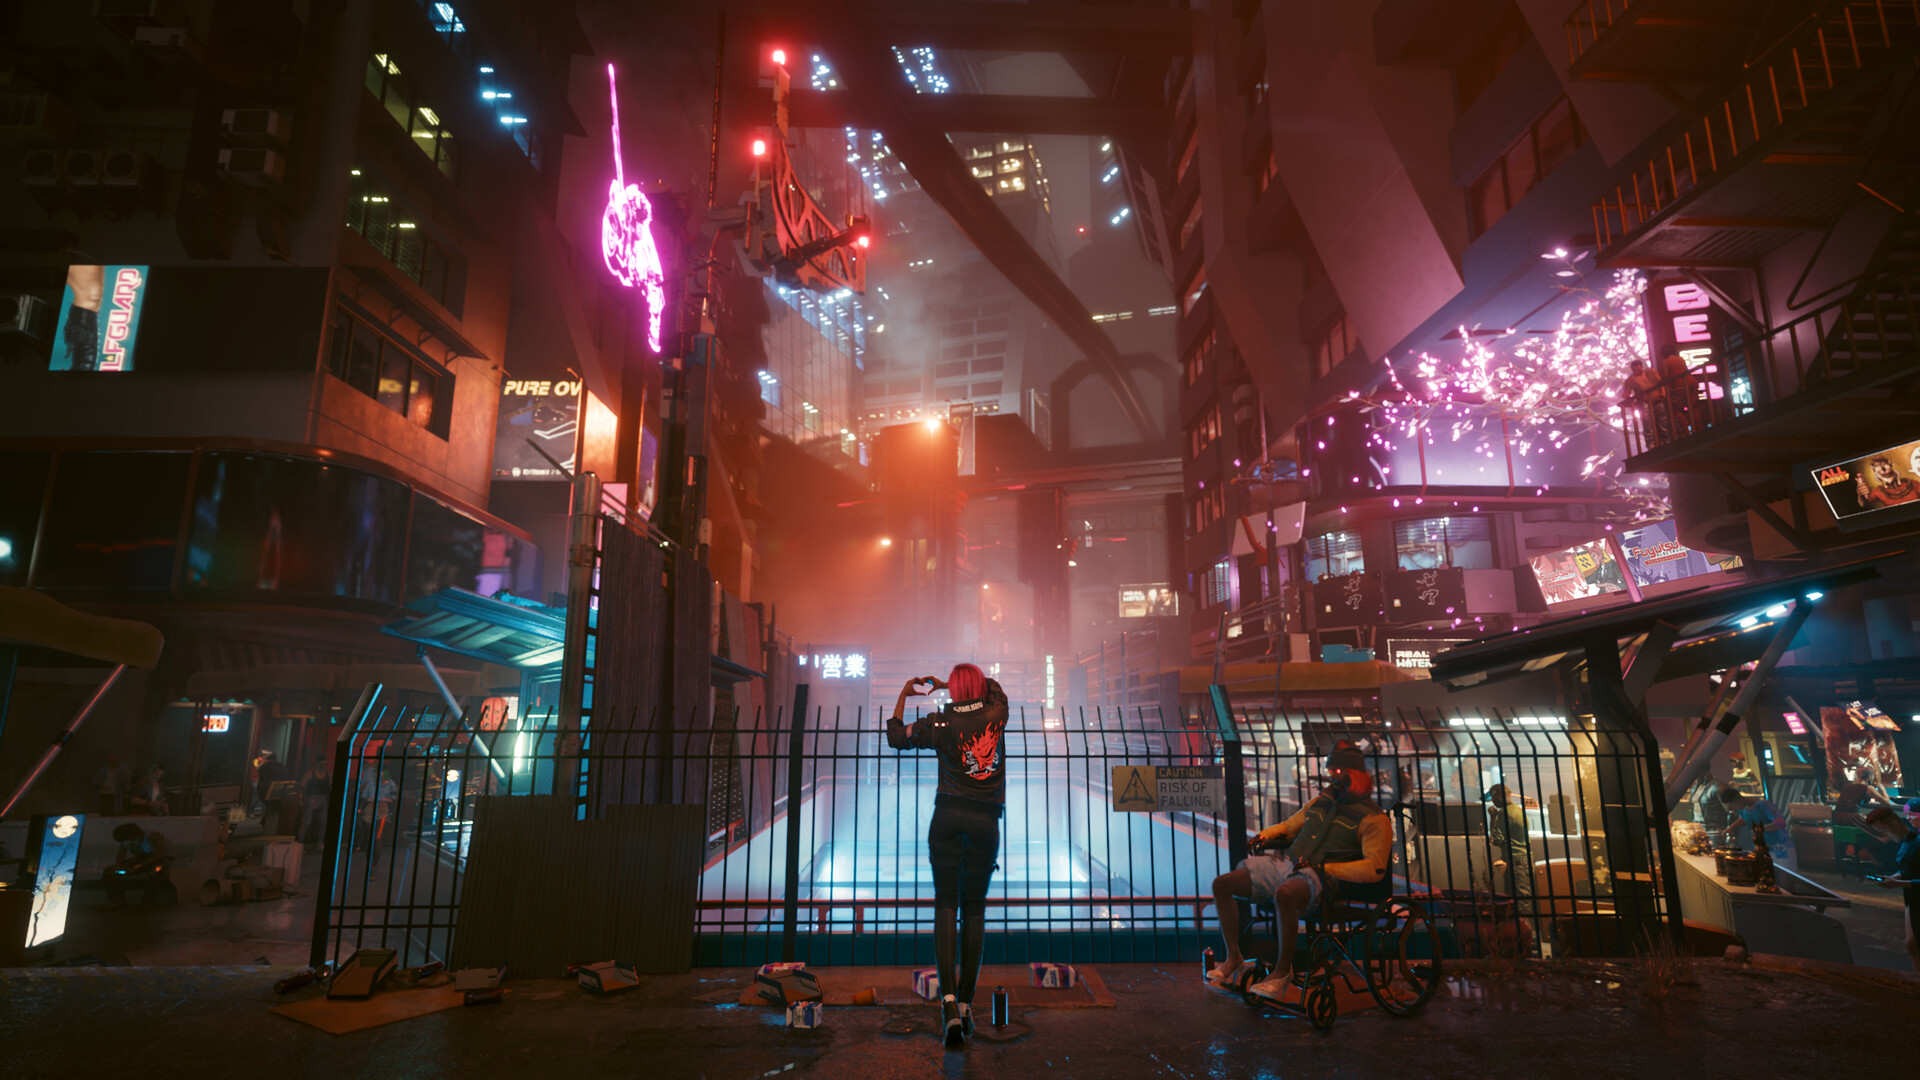
Cosmic Exploration: Starfield’s dual perspectives—first-person immersion and third-person observation—allow me to traverse fictional and non-fictional planetary systems. Each celestial body conceals secrets, challenges, and untold wonders. Whether scanning environments or engaging in dialogue, the cosmos unfolds before me, beckoning to be explored.
Spaceship Dynamics: Maneuvering my vessel through the galactic expanse is both exhilarating and strategic. Dogfights among the stars demand finesse, and ship customization becomes an art form. As I chart my course, the promise of new survival mechanics awaits, adding depth to my cosmic saga.
In this grand celestial ballet, Starfield invites me to dance among the constellations, unravel mysteries, and etch my legacy across the cosmic canvas. (Conversation with Microsoft Copilot)”
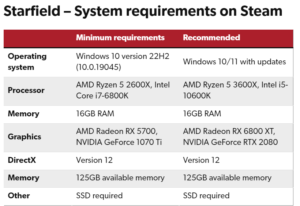
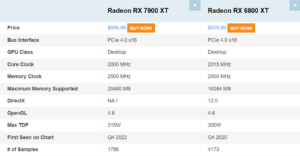
The minimum and recommended requirements were
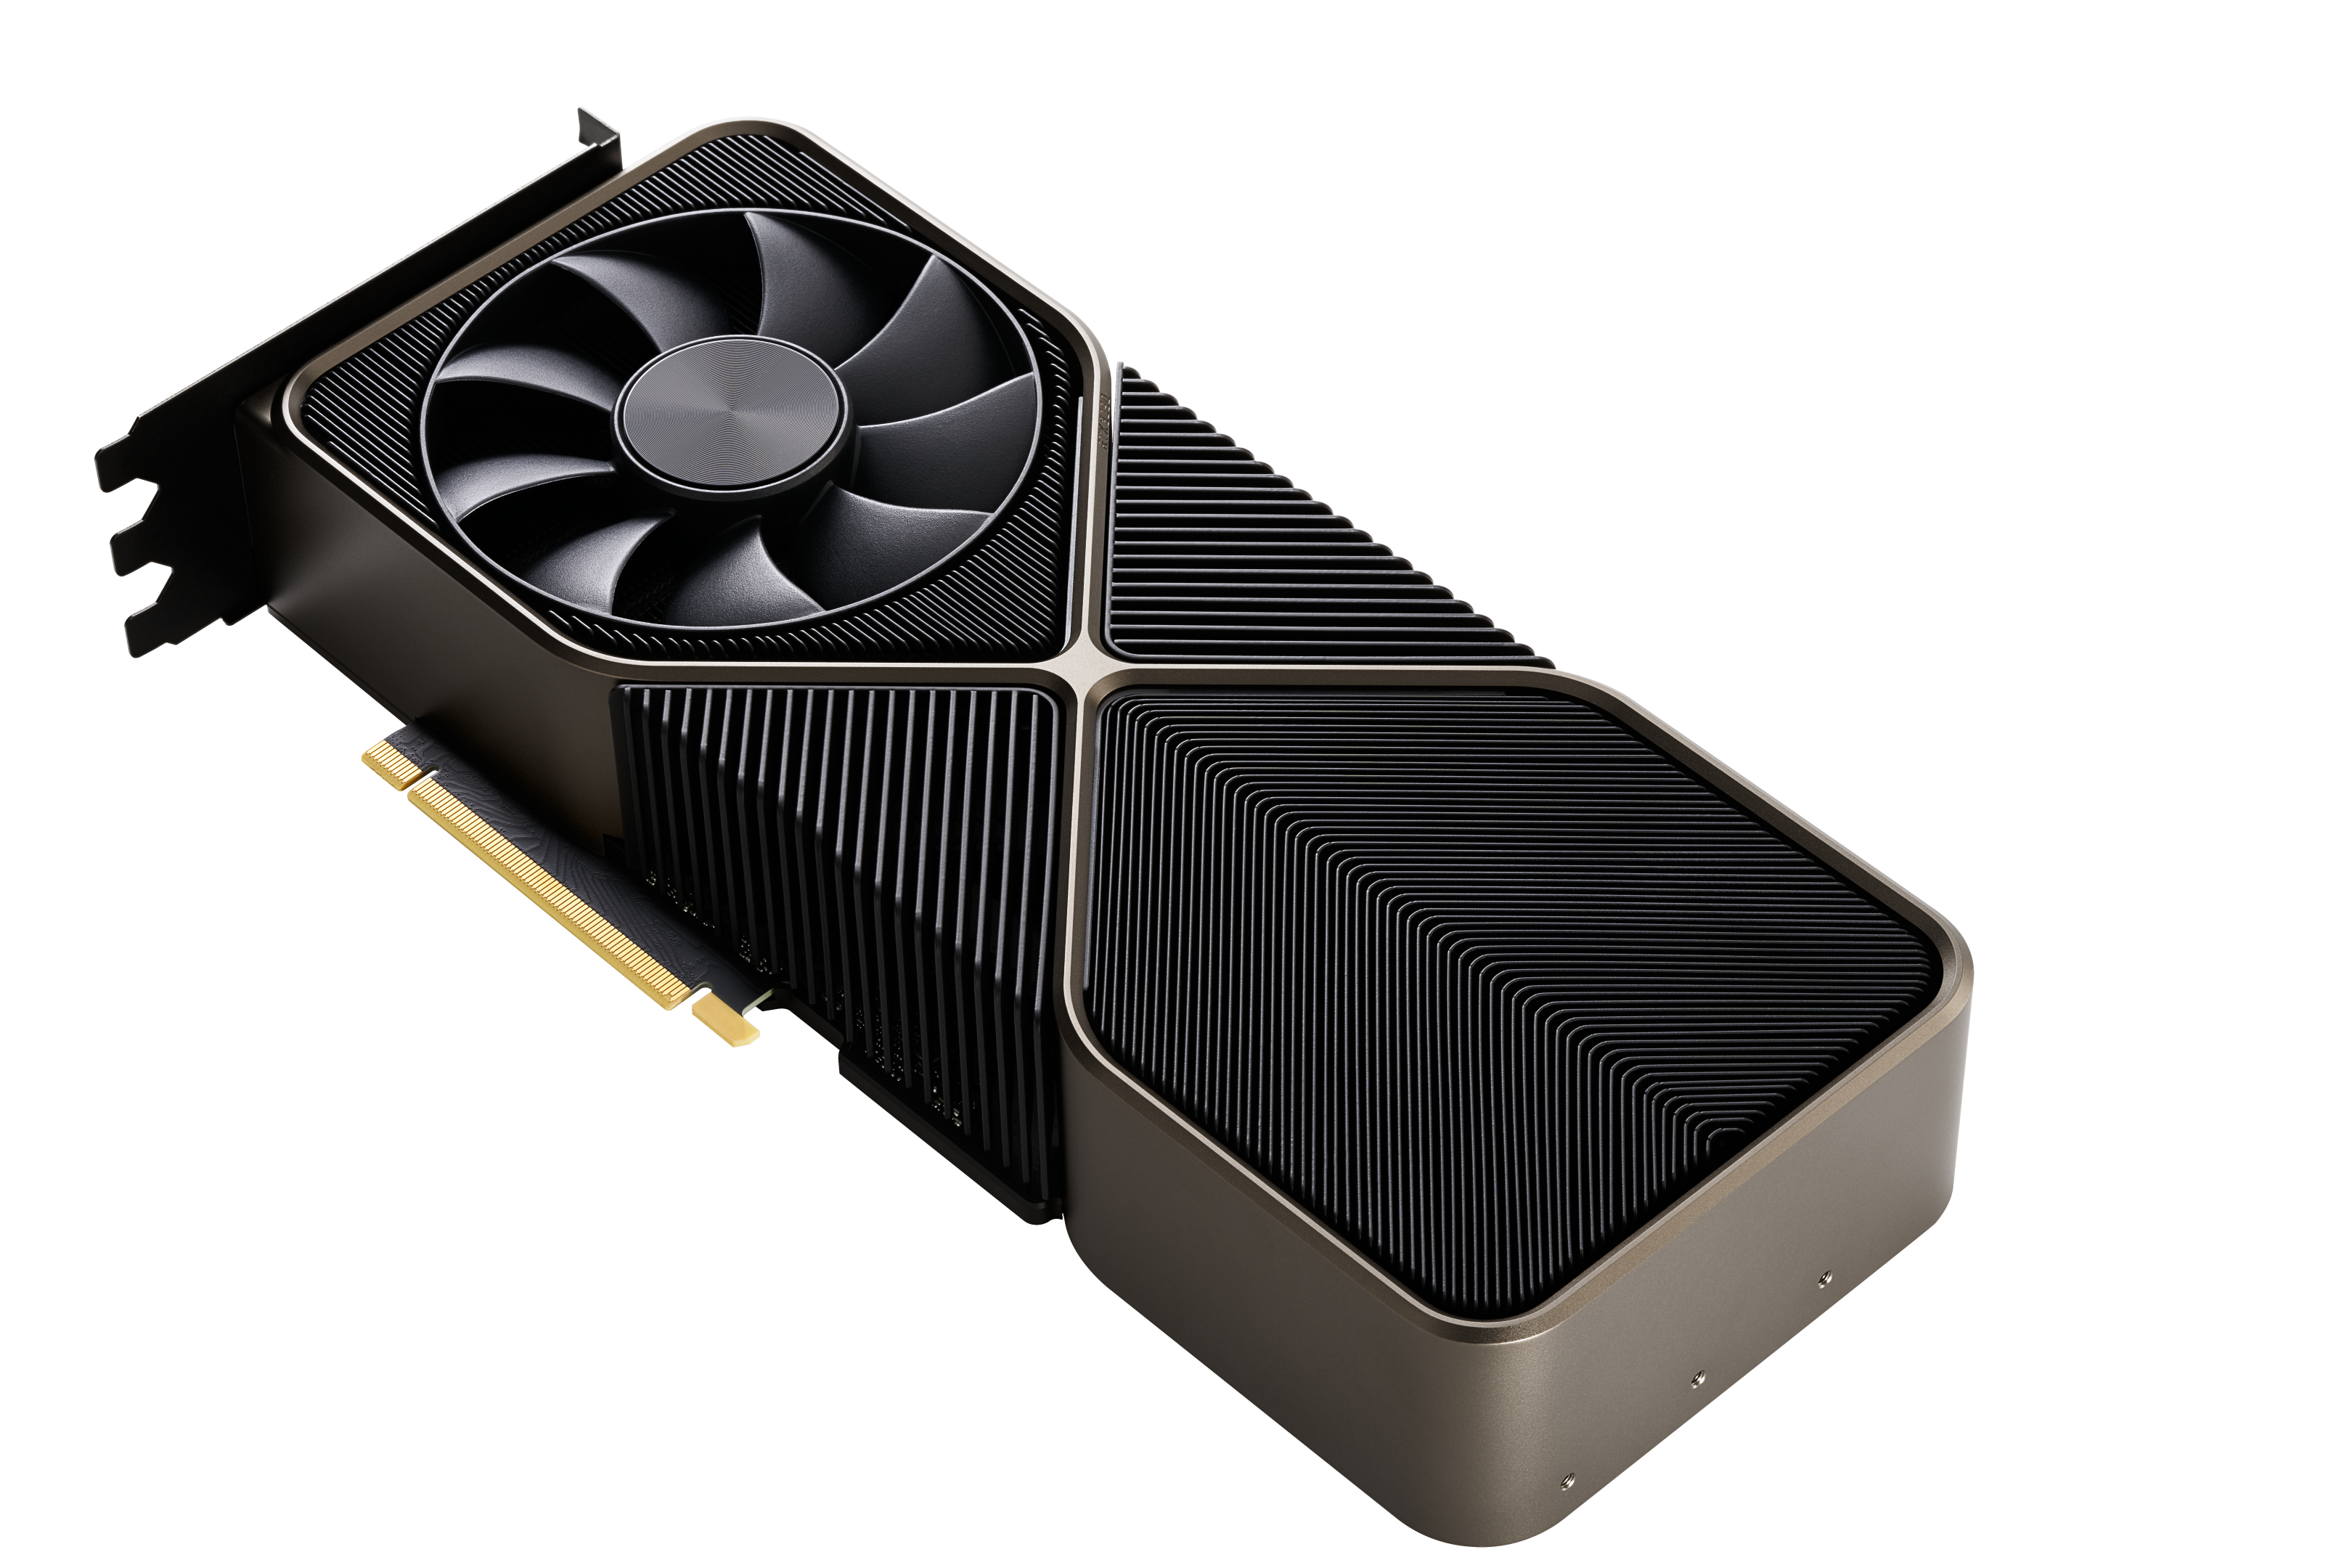
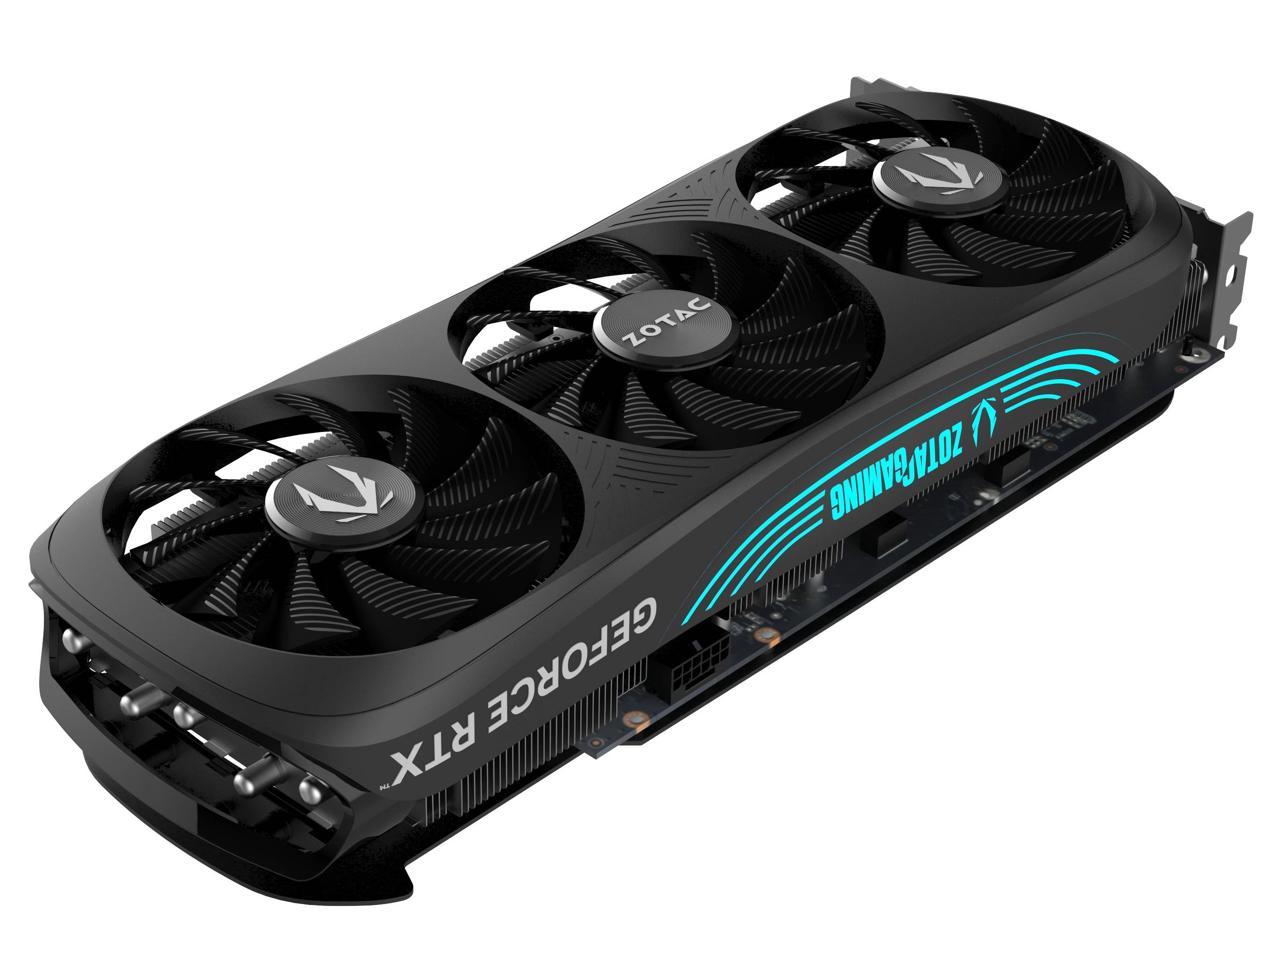
“With having the AMD Radeon RX 7900 XT as my GPU interface there’s performance Beyond the Stratosphere: The AMD Radeon RX 7900 XT 20GB propels gaming performance to new heights. With its advanced RDNA™ 3 architecture, this GPU boasts blazing-fast clock speeds and a staggering 80MB AMD Infinity Cache™. Whether I’m exploring alien landscapes or engaging in interstellar dogfights, the 20GB of GDDR6 memory ensures seamless gameplay at 4K and beyond. It’s like strapping a warp drive to my rig! Visuals That Defy Gravity: The ASRock Phantom Gaming Radeon RX 7900 XT conjures breathtaking visuals. Thanks to High-Performance Rendering, a fusion of AMD FidelityFX™ features and upscaling technologies, I witness worlds bathed in vivid hues and intricate details. The AMD Radiance Display™ Engine treats me to up to 68 billion colors at 8K 165Hz, making every celestial vista a feast for the eyes.
Cosmic Synergy with AMD Ryzen™: Pairing this celestial GPU with compatible AMD Ryzen™ processors unlocks a cosmic synergy. Smart technologies collaborate, granting me an edge in the galactic arena. And let’s not forget the AMD Software: Adrenalin Edition™, ensuring bulletproof drivers for an unparalleled gaming voyage11.
In summary, the ASRock Phantom Gaming RX 7900 XT 20GB is my trusty starship—a vessel that propels me through the cosmos, rendering beauty and power in equal measure. Engage warp speed, fellow gamers! 🚀 (Conversation with Microsoft Copilot)”
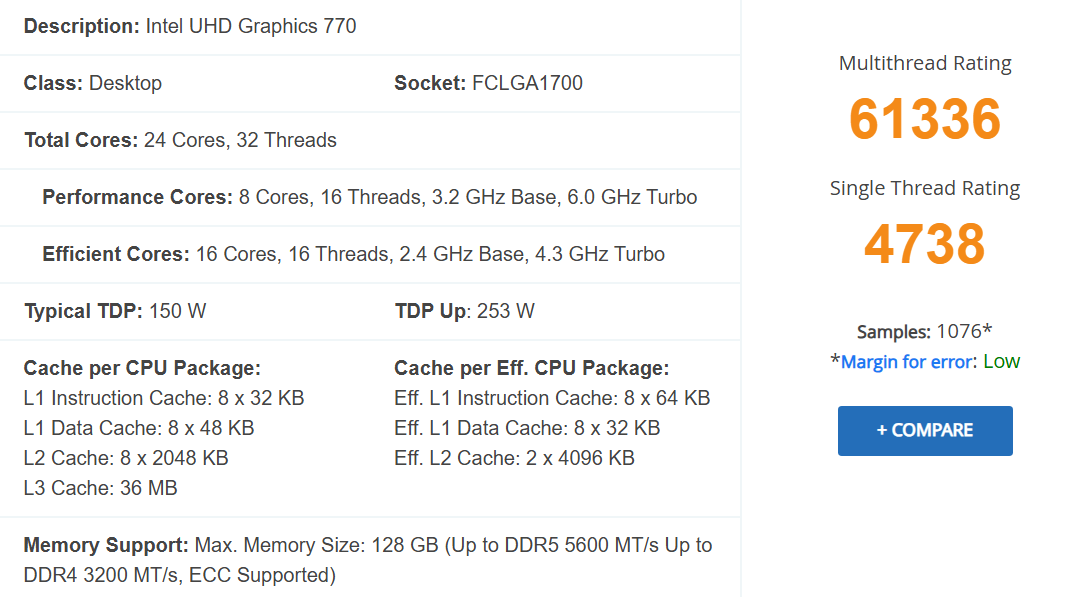
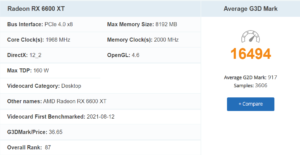
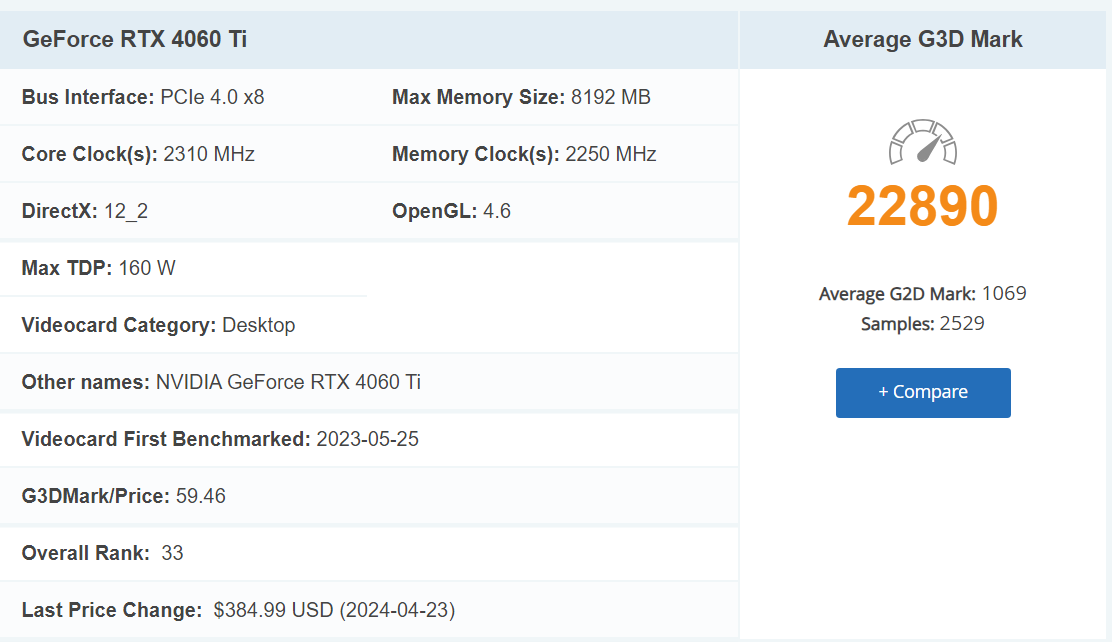
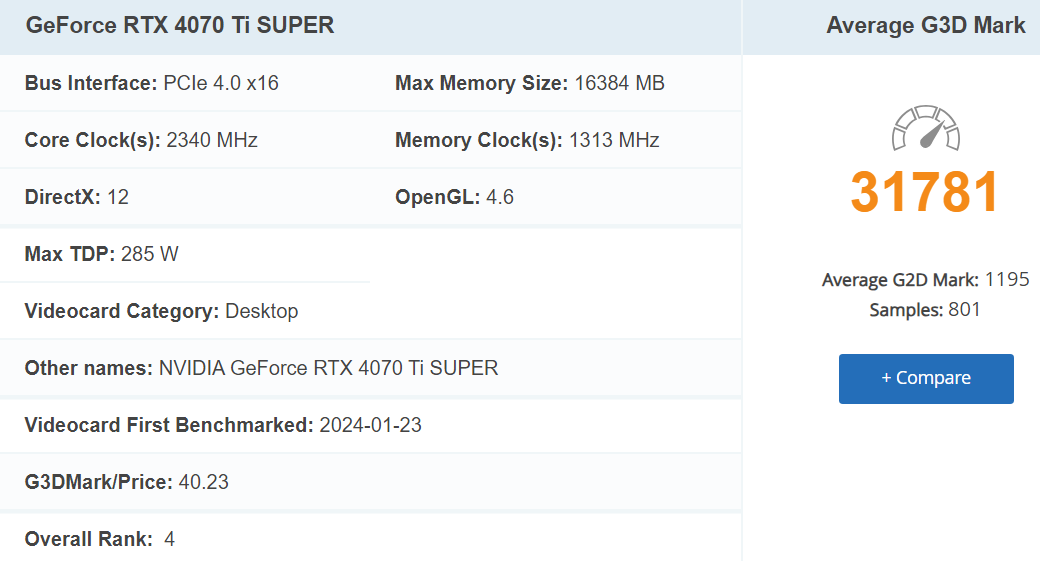
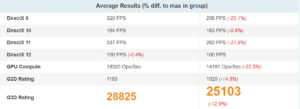
combining this Graphics Card being highly rated in passmark compared to the recommended Graphics Card and this and the recommended specs for Starfield, the game will look absolutely astonishing
Note; this is for a class project