This blog post is a tutorial for creating and configuring a TrueNAS server with a Broadcom SAS2108 Raid Controller using RAID 1+0 (RAID 10). There will be a Youtube video linked below showing the whole setup process from start to finish.
OS: TrueNAS
- Assumptions
- You have already completed the “Quick Start Guide” by connecting the raid controller components to each other inside of the case.
- The hard drives have already been slotted into the hot swap bays.
- The system is able to be powered on and is capable of entering BIOS.
- You have created a TrueNAS bootable USB drive.
- Connect a keyboard and monitor to the server(a mouse is not required).
- Power on the machine to boot to the RAID controller.
- After the initialization screen and the HDD check screen, there will be a brief moment where you can press “ctrl + R” to boot to the RAID controller.
- Once on the controller interface, you can select your RAID configuration. This includes the RAID level, which drives you want to use, setting up hot failover, and how many physical drives you want for each logical drive. In my case, I used RAID 10 with 18 drive logical drives (18 striped, 18 mirrored).
- The RAID card included with this server supports RAID 0, 1, 5, 6, 10, and 50. For more information and visualizations of the different raid levels, visit the link HERE.
- Once you are done with configuring your RAID setup, you can save and power off the machine.
- Insert your TrueNAS USB stick into one of the free USB slots (I recommend USB 3.1 if possible).
- Power on the machine and boot to BIOS (the key for this specific machine is “delete”.
- Navigate to the boot section.
- Set the first boot option to your TrueNAS USB drive
- Save and reboot the machine
- Go through the TrueNAS Installation
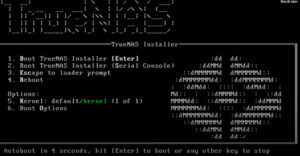
- Once at the installation screen, you can press “1” to start the installation method.
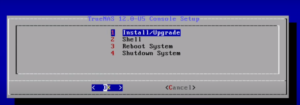
 After the initial initialize page, you can press “1” to select the “Install/Upgrade” option
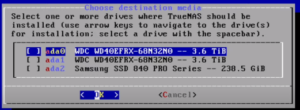
- You will then be prompted to select which drive you want TrueNAS to be installed on
 You can then say yes to your data being wiped, enter a password, and to “Boot Via BIOS” you can choose UEFI if you want, I just chose BIOS since it is compatible with our legacy devices.
- Say yes to creating a 16GB swap file if you have the storage for it.
- Let the installation complete,
- remove the USB drive when prompted, and reboot the system. This is the last step before TrueNAS boots.
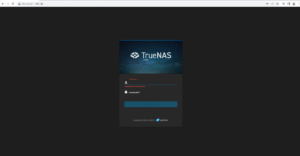 Enter the Web GUI
- Once the machine has loaded the OS, you can then view the IP address in your web browser to get to the TrueNAS web GUI. The default username is “root” and the password is the one you set during the installation.