You have powered down the machine (safely of course)
The server is unplugged and residual power has been drained.
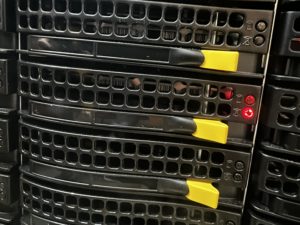
Find the broken drive
This is indicated via the red LED on the front of the drive bays.
FLASHING RED = HOT SPARE
SOLID RED = BROKEN/BAD HDD
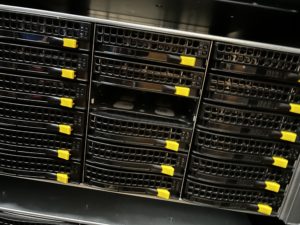
Remove the drive from the drive bay and replace it with a drive of the EXACT same model. If it is a different model, it can not be added as a hot spare, only as an “Up Good” drive.
Power on the Server
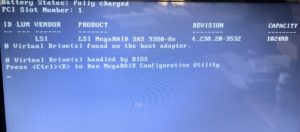
As the server powers on, it will conduct tests such as normal POST and gather information on the RAID controller. As the machine powers on, you will eventually come to the following screen after some minutes of booting.
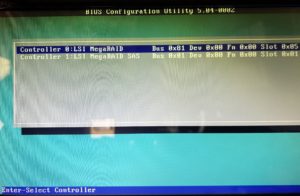
Once this screen comes up, press “CTRL + R” to enter the raid controller settings. The screen will look like the following.
Once you get to this screen, press enter to enter the primary RAID controller settings.
Configure the drive and add it as a Hot Spare
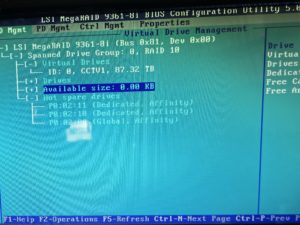
Once you are in the RAID controller, it will look somewhat like the following.
As you can see, there are only THREE hot swap drives. We need to add the new drive to act as the fourth spare.
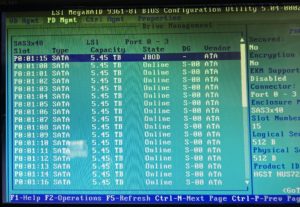
To do this, tab over to “PD Mgmt” to see all of the disks. The screen will look as follows.
Here you can see a list of all drives connected to the RAID controller. The one in the”JBOD” state is going to be the drive that needs to be changed.
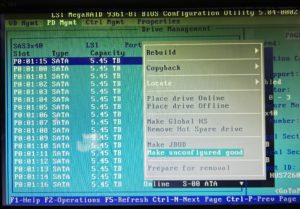
To do this, press “F2” while hovering the drive to bring up the options. You will then be presented with the following menu.
In this menu, you will select “Make Unconfigured Good” to change the drive to an “Up Good” state. You will then go back to the menu to make it a Hot Spare.
Once you are back to this menu, select “Make Global HS” to make it a Hot Spare for all virtual drives.
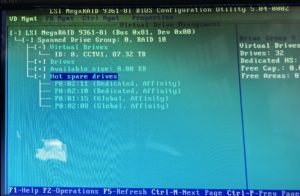
You can then go back to “VD Mgmt” and expand the “Hot Spare Drives” section to see your new hot spare!
Reboot the Server
You can now reboot the machine and bring it back to full operation!