Monthly Archives: January 2023

My First Blog

Summer Plans

This summer I am planning on visiting the Maldives to scuba dive.  “Although home to just over half a million people the Maldives has its own unique culture and traditions. While heavily influenced by various cultures around the rim of the Indian Ocean, the Maldivian culture, craft and traditions have been shaped by the island environment and the seas that surround us.” (Maldives)


Note:  This review is part of a classroom project. 

References:

https://visitmaldives.com/en

Jaydon’s First Blog Post

My Summer Vacation


For me personally, I’m not the person who likes to travel. If I had the choice, I’d stay home all I could. So I literally know, no vacations places. But, of course I have to choose something. So I suppose I would check out New York for a few days, merely for the experience. I know it sucks to live there, but I just would like to go there to understand it I suppose.


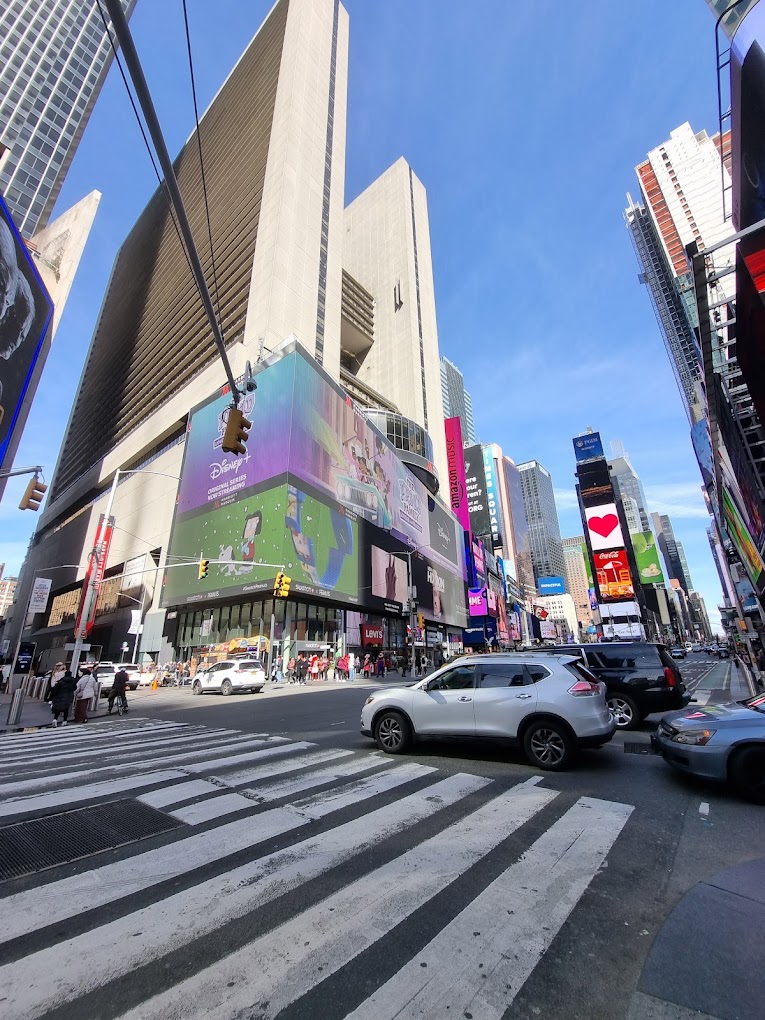
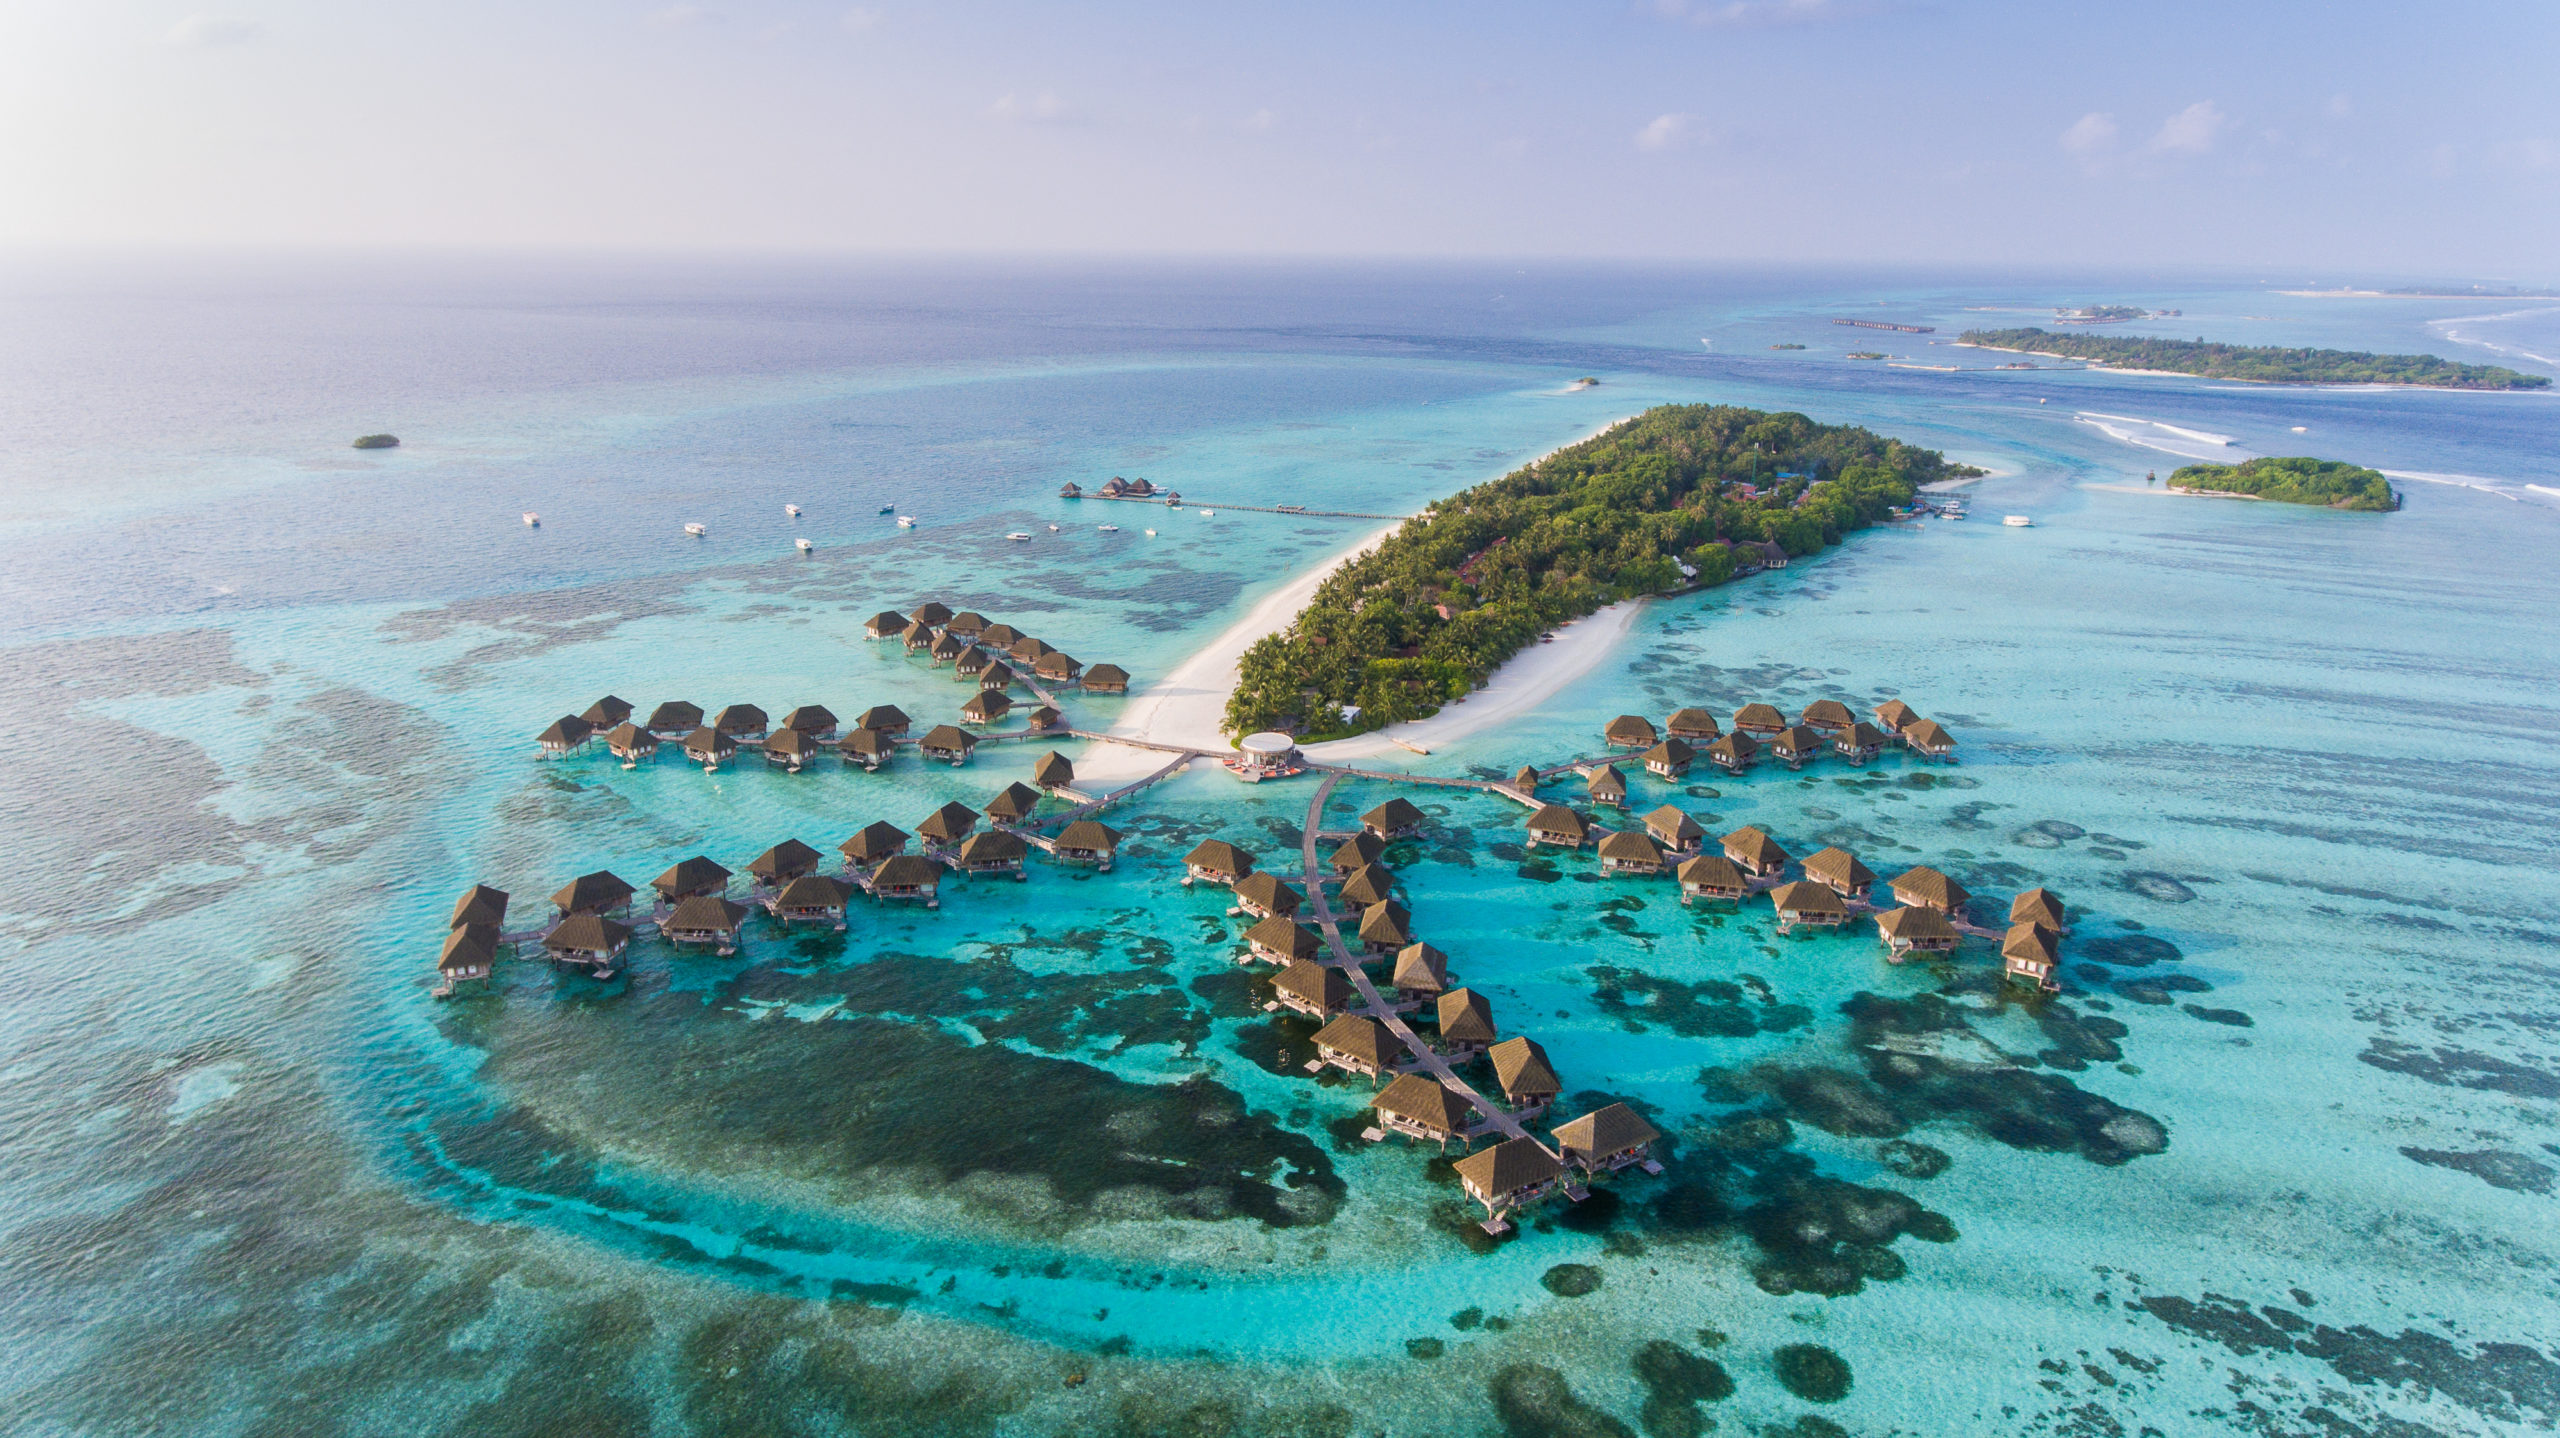
There’s no proper website for this image, just takes you to google maps.


But ya, I would simply go there for a few days to understand the place and see the great spots of New York. I would never live there, but I’d go there to explore. It’s a huge place, so there’s tons to see. Haha, it really isn’t that great to me, but I gotta write something I suppose. I’m sure it’d be fun to go with someone too.


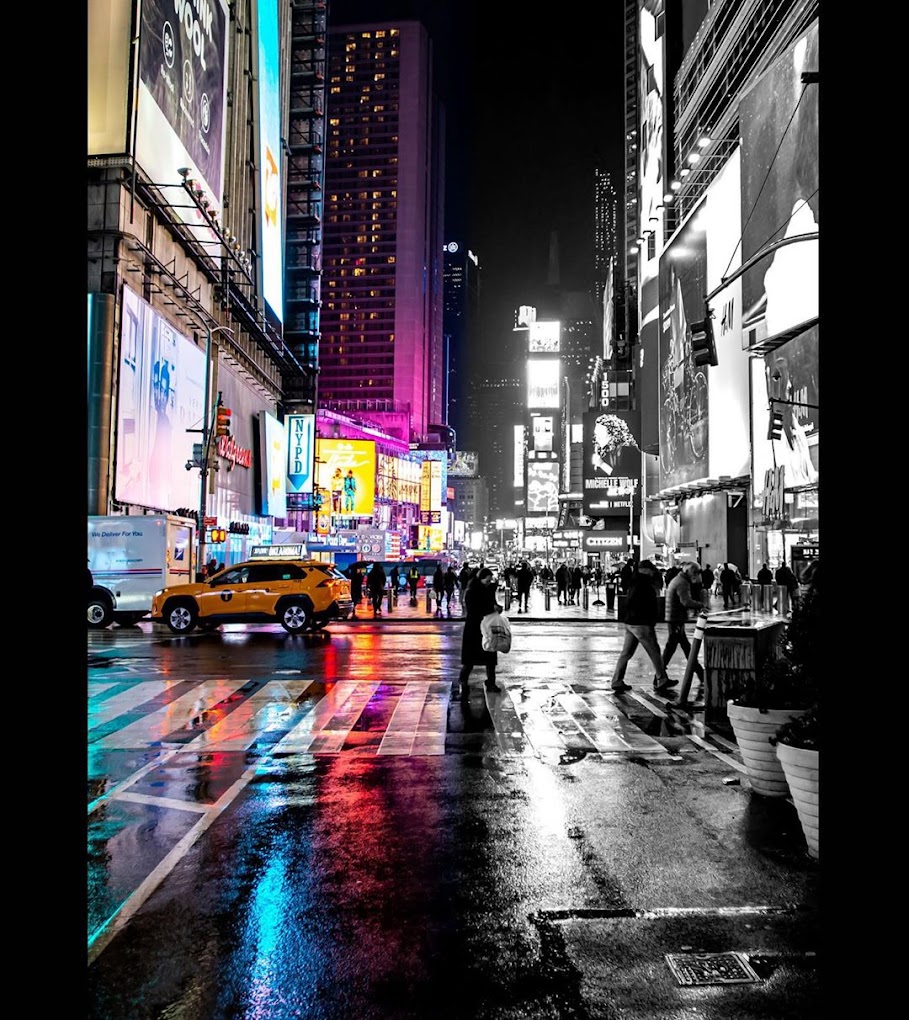
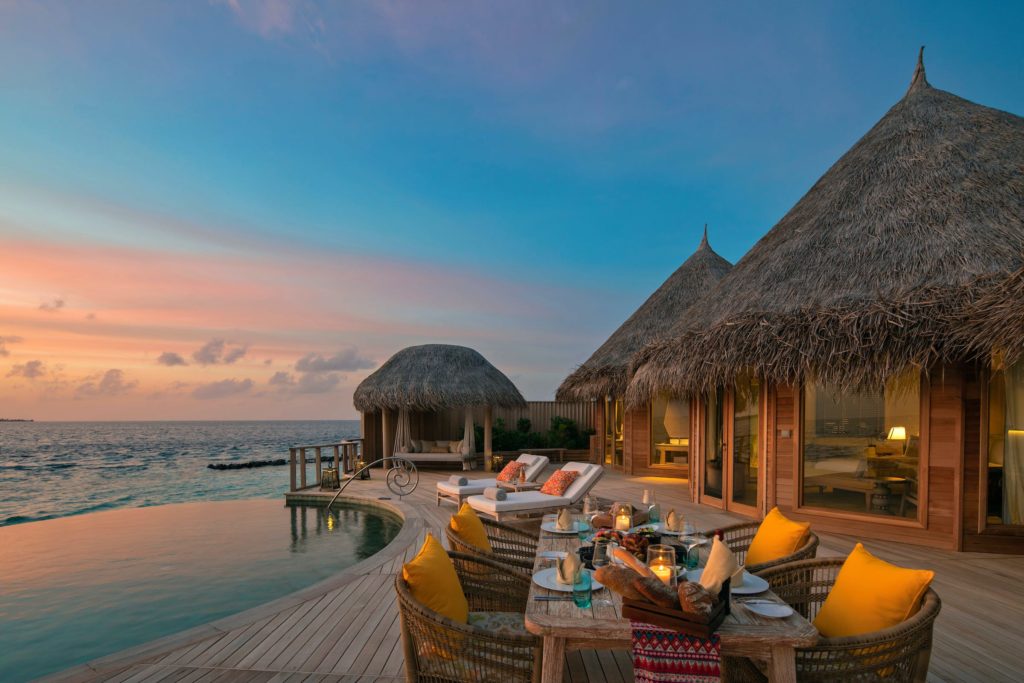
No link again, same thing as the last image, sorry.

That would be it for my blog. I’d say it’s rather sad, and boring. But hey an assignment’s a assignment. Thanks for reading though. Even if it wasn’t much.


THIS IS PART OF A NATIONAL TRAIL SCHOOL PROJECT.

NVidia 3060ti Review

“The GeForce RTXTM 3060 Ti and RTX 3060 let you take on the latest games using the power of Ampere—NVIDIA’s 2nd generation RTX architecture. Get incredible performance with dedicated 2nd gen RT Cores and 3rd gen Tensor Cores, streaming multiprocessors, and high-speed memory.” (Nvidia)

This video card is my personal favorite for the money and is a fantastic addition for any price-minded gamer.

Rated 4.7 out of 5 eggs on Newegg.  Currently lowest priced at $419.99 on Newegg.com

  • NVIDIA Ampere architecture, 2nd Gen Ray Tracing Cores, 3rd Gen Tensor Cores
  • Boost Clock 1695 MHz, 8GB 256-bit GDDR6, 14 Gbps, PCIE 4.0
  • White LED Logo Lighting, IceStorm 2.0 Advanced Cooling, Active Fan Control, Freeze Fan Stop, Metal Backplate
  • 8K Ready, 4 Display Ready, HDCP 2.3, VR Ready
  • 3 x DisplayPort 1.4a, 1 x HDMI 2.1, DirectX 12 Ultimate, Vulkan RT API, OpenGL 4.6
  • LHR 25 MH/s ETH hash rate (estimate)

Performance

Card Images

Summary

I have used this card extensively for 3 months now and cannot recommend it more.  It also has the advantage of working with NVidia Broadcast!  This allows the removal of background sounds and images.  I highly recommend giving it a try!

NOTE:  This is part of a class project.

References:

https://www.newegg.com/zotac-geforce-rtx-3060-ti-zt-a30610h-10mlhr/p/N82E16814500518

https://www.nvidia.com/en-us/geforce/graphics-cards/30-series/rtx-3060-3060ti/

Creating a Nagios Core Monitoring Server

Nagios Core (formerly known as just Nagios) is a free tool that can be used to monitor networking equipment, server equipment, and general networking infrastructure. This is a command line tutorial therefore this can be done on either the desktop or the CLI version of Linux.

  • OS Requirements
    • Ubuntu Linux 20.04
  • Install Required Packages
    • apt install wget unzip curl openssl build-essential libgd-dev libssl-dev libapache2-mod-php php-gd php apache2 -y
  • Install nagios core
  • Extract the downloaded files.
    • sudo tar -zxvf nagios-4.4.6.tar.gz
  • Navigate to the setup directory.
    • cd nagios-4.4.6
  • Run the Nagios Core configure script.
    • sudo ./configure
  • Compile the main program and CGIs.
    • sudo make all
  • Make and install group and user.
    • sudo make install-groups-users
  • Add www-data directories user to the nagios group.
    • sudo usermod -a -G nagios www-data
  • Install Nagios.
    • sudo make install
  • Initialize all the installation configuration scripts.
    • sudo make install-init
  • Install and configure permissions on the configs’ directory.
    • sudo make install-commandmode
  • Install sample config files.
    • sudo make install-config
  • Install apache files.
    • sudo make install-webconf
  • Enable apache rewrite mode.
    • sudo a2enmod rewrite
  • Enable CGI config.
    • sudo a2enmod cgi
  • Restart the Apache service.
    • sudo systemctl restart apache2
  • Create a user and set the password when prompted.
    $ sudo htpasswd -c /usr/local/nagios/etc/htpasswd.users admin

How To Create a Mirth Connect Server On Ubuntu 20.04

  1. Create an Ubuntu Desktop VM
  2. Change IP address to desired address either through DHCP or statically on the machine
  3. Update Linux
    1. apt-get update
    2. apt-get upgrade
  4. Install Java and SQL
    1. Open the terminal
      1. sudo apt install default-jre
    2. Install sql
      1. sudo apt install mysql-server
  5. Make sure java installed
    1. Open terminal
      1. Java -version
  6. Go to https://www.nextgen.com/products-and-services/mirth-connect-downloads 
    1. Download the Linux.tar.gz file for the Linux installation
    2. Install the Administrator version as well
  7. Extract the 2 downloads and move them to the /opt/ directory 
    1. tar -xvzf /path/to/filename.tar.gz
  8. Open New terminal
    1. Move downloads from desktop to /opt/ directory
      1. Cd Desktop/
      2. Sudo mv /DOWNLOAD ONE NAME/ /opt/
      3. Sudo mv /DOWNLOAD TWO NAME/ /opt/
  9. Confirm that the files are in the /opt/ directory
    1. cd /opt/
    2. ls
      1. There should be 2 files in the /opt/ directory (the two you downloaded and moved)
  10. Enter the mirth file to find the configuration file
    1. cd Mirth\ Connect/
    2. ls
    3. cd /conf
    4. ONLY DO THIS IF YOU WISH TO EDIT CONFIG FILE
      1. nano mirth.properties
      2. You will not be free to edit the configuration files.
    5. Cat mirth.properties
      1. You should now be in the server properties of mirth. Edit these files if you wish to (username, password, port numbers)
  11. Lave the configuration file
    1. Cd ..
  12. Launch the server
    1. ./mcserver
  13. Connect to the server via web browser

IF YOU DECIDE TO USE THE ADMIN PROGRAM

  1. Open a new terminal window
  2. Navigate to /opt/ directory
    1. Cd /opt/
  3. Go into the mirth admin program
    1. cd mirth-administrator-launcher/
  4. Run the launcher
    1. ./launcher
    2. You should not be loading into the admin panel where you can enter your server credentials.

Exporting a Docker Image to Docker Hub

  1. Enter the root user account
    1. sudo -i
  2. View current running docker containers to find the one you want to upload
    1. Docker ps -a
  3. You can make sure its the correct machine by interfacing with it and checking the files
    1. Docker exec -it <CONTAINER ID> (EX: 50b2e9d0dff6) bash
      1. Docker exec -it 50b2e9d0dff6 bash
      2. Here you can use it as you would a regular CMD Linux PC
      3. To exit the container, do the command: “exit”
  4. Commit Container to an Image (This turns the container into a docker image for reuse)
    1. Docker commit <CONTAINER ID> <DOCKER HUB USERNAME>/<Your_Image_Name>
      1. EX: docker commit 50b2e9d0dff6 mpeck/ubuntu-modified
  5. Log into your Docker Hub account on the docker-machine
    1. docker login
      1. You will then enter your docker hub username and password
  6. Push the docker image to Docker Hub
    1. docker push <username>/<Image_Name>
      1. EX: docker push mpeck/ubuntu-modified
  7. Check Docker Hub
    1. https://hub.docker.com/
    2. Log into the account you used to push the container
    3. Check the “repository” tab for your container.